
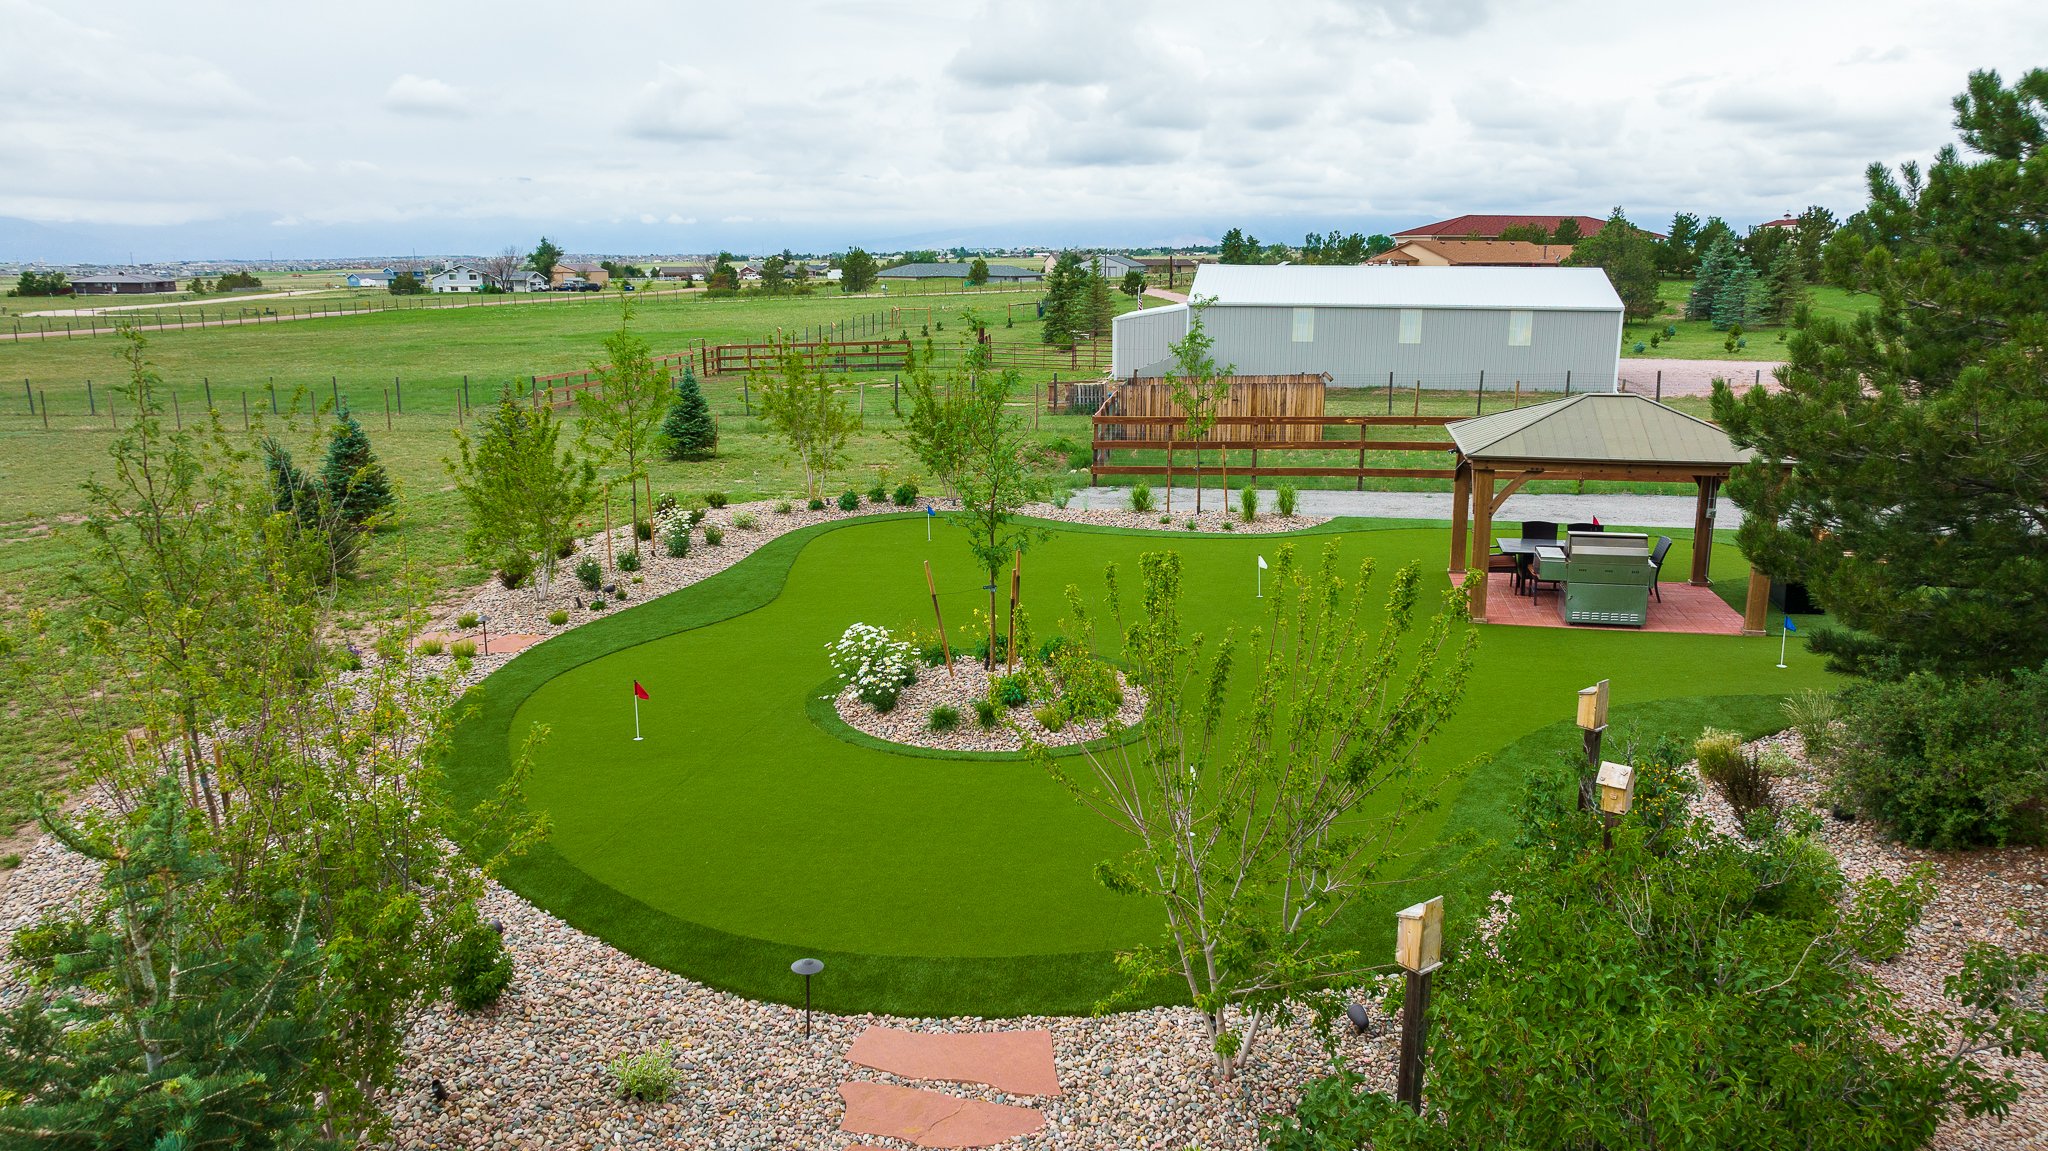
Your outdoor space is an extension of your home, offering a place to relax, entertain, and enjoy the beauty of nature. One way to enhance the look and functionality of your outdoor space is by installing turf. Artificial turf can provide a lush, green lawn that requires minimal maintenance and stays looking great all year round. To get more information about home turf installation, you can contact Colorado Spring Sturf.
Benefits of Artificial Turf
Before diving into the installation process, let's explore some of the advantages of artificial turf:
- Low maintenance: No need for watering, mowing, or fertilizing.
- Durable: Withstands heavy foot traffic and extreme weather conditions.
- Cost-effective: Saves money on water bills, lawn care services, and equipment.
- Environmentally friendly: Reduces the need for pesticides and water usage.
- Year-round beauty: Maintains its lush appearance regardless of the season.
Tools and Materials Needed
Before you begin the DIY turf installation, gather the following tools and materials:
- Turf rolls
- Utility knife
- Turf adhesive
- Seaming tape
- Turf cutter
- Shovel
- Rake
- Tamper
- Stakes
- Metal bristles broom
Preparation
Proper preparation is key to a successful turf installation. Follow these steps to get your outdoor space ready:
- Clear the area: Remove any existing grass, rocks, or debris from the space where you plan to install the turf.
- Level the ground: Use a shovel and rake to ensure the area is smooth and level. This will prevent any bumps or dips in the finished turf.
- Add a base: If the soil is not well-draining, consider adding a base layer of crushed rock or sand to improve drainage.
Installation
Now that you've prepped the area, it's time to install the turf. Follow these steps for a seamless installation:
- Roll out the turf: Unroll the turf rolls and allow them to acclimate to the sun for a few hours, which will help the fibers relax.
- Cut to size: Use a utility knife to trim the turf rolls to fit the dimensions of your outdoor space.
- Apply adhesive: Use turf adhesive and seaming tape to join the turf rolls together. Be sure to follow the manufacturer's instructions for proper application.
- Secure in place: Use stakes to secure the turf along the edges and seams. This will prevent the turf from shifting or moving once installed.
- Infill: Spread an infill material, such as sand or rubber, over the turf to help support the fibers and provide cushioning.
- Brush fibers: Use a metal bristles broom to brush the turf fibers in the opposite direction. This will help the fibers stand upright and look more natural.
Maintenance
Once your turf is installed, proper maintenance will ensure it stays looking great for years to come. Here are some tips for maintaining your artificial turf:
- Regularly brush the turf to keep the fibers standing upright and prevent matting.
- Remove debris, leaves, and pet waste promptly to prevent odors and damage to the turf fibers.
- Rinse the turf occasionally with water to remove dust and refresh the surface.
- Inspect the turf for any damage or wear and tear, and make repairs as needed to prolong its lifespan.
Conclusion
Transforming your outdoor space with a DIY home turf installation is a rewarding project that can enhance the beauty and functionality of your home. By following the steps outlined in this ultimate guide, you can create a lush, green lawn that requires minimal maintenance and provides year-round beauty. With the right tools, materials, and techniques, you can enjoy a beautiful outdoor space that will be the envy of your neighbors.